3-玩转插槽新特性
1、知识点
- 普通插槽
- 具名插槽
- 作用域插槽
- 插槽简写语法
2、插槽介绍
为什么要有插槽语法呢?
我们知道前端组件化开发,要达到组件的高效复用,插槽是必不可少的开发利器。
插槽可以减少我们在开发过程中 if 语句的频繁使用,提高代码的可读性。
举个例子:比如一个按钮,原生按钮的样式实在太丑了,要求可以自定义按钮样式等内容。我们就可以使用插槽来自定义内容,避免写了很多种按钮组件。把不同的部分抽离出来,让用户自定义想要的内容。
当然,插槽也不是用得越多越好,插槽只是组件最大化利用的一种手段,而不是替代组件的方案。应该看应用场景而定。
普通插槽
普通插槽,默认名字为 default,就是在子组件中使用 <slot> 标签来占用位置。
接下来举一个简单的例子,在 src/views 新建一个 Slots.vue。
子组件
<template>
  <div class="slot">
    <h2>子元素</h2>
    <slot>插槽默认内容</slot>
  </div>
</template>

<script>
  export default {
    name: "slots",
  };
</script>
父组件
在 src/views 新建父组件 Parent.vue,引入子组件 Slots.vue,在 components 中注册组件之后才能以标签的形式使用。
<template>
  <div class="parent">
    <h1>父级元素</h1>
    <slots>
      <p>插槽内容1</p>
      <p>插槽内容2</p>
    </slots>
  </div>
</template>

<script>
  import slots from "./Slots";
  export default {
    name: "parent",
    components: {
      slots,
    },
  };
</script>
接着在 router/index.js 引入父组件,配置路由:
import { createRouter, createWebHistory } from "vue-router";

const routes = [
  {
    path: "/parent",
    name: "parent",
    component: () => import("../views/Parent.vue"),
  },
];

const router = createRouter({
  history: createWebHistory(process.env.BASE_URL),
  routes,
});

export default router;
在 App.vue 中添加一行路由跳转代码。
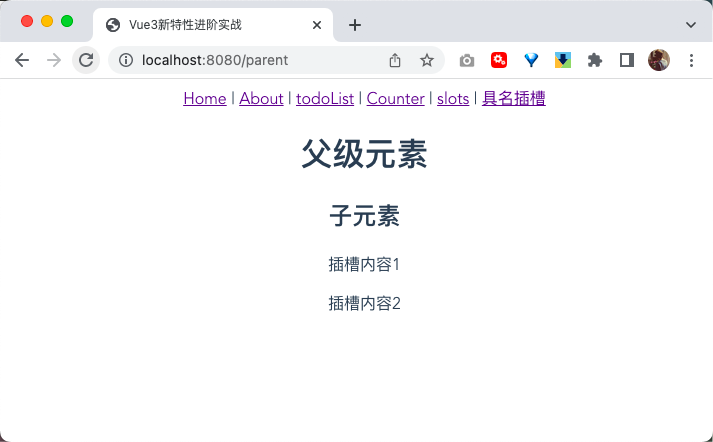
<router-link to="/parent">slots</router-link>运行效果,可以看到插槽的内容被两个 p 标签替换了。
具名插槽
当我们需要知道哪些东西明确地放在哪个位置,具名插槽就派上用场了。
例如一个页面有头部区块内容,中间页面内容,页脚底部内容,我们就可以定义一个大的框架,使用三个具名插槽来占用位置,将头部区块抽成一个组件,中间内容抽成一个组件,页脚也抽成一个组件,这样更加能够提高代码可读性,也能减少每个组件文件的代码量。
来实现简单的案例。
头部组件 HeaderSlot.vue
在 src/views 目录新建 HeaderSlot.vue,写下代码:
<template>
  <header>头部组件</header>
</template>

<script>
  export default {
    name: "headerSlot",
  };
</script>
中间内容组件 BodySlot.vue
在 src/views 目录新建 BodySlot.vue,写下代码:
<template>
  <div class="body">中间内容</div>
</template>

<script>
  export default {
    name: "bodySlot",
  };
</script>
页脚组件 FooterSlot.vue
在 src/views 目录新建 FooterSlot.vue,写下代码:
<template>
  <div class="footer">页脚组件</div>
</template>

<script>
  export default {
    name: "footerSlot",
  };
</script>
框架组件 Layout.vue
在 src/views 新建 Layout.vue,使用三个具名插槽占住位置。
<template>
  <div class="parent">
    <slot name="header"></slot>
    <slot name="body"></slot>
    <slot name="footer"></slot>
  </div>
</template>

<script>
  export default {
    name: "layout",
  };
</script>
SlotName.vue
在 src/views 新建 SlotName.vue。
我们需要引入框架组件 Layout.vue,头部组件 ,页脚组件,中间内容组件,使用模板插槽来指定组件放在哪个位置。
<template>
<div class="slot-name">
<layout>
<!--头部插槽放置的内容的区块-->
<template v-slot:header>
<header-slot></header-slot>
</template>
<!--中间内容放置的区块-->
<template v-slot:body>
<body-slot></body-slot>
</template>
<!--页脚内容放置的区块-->
<template v-slot:footer>
<footer-slot></footer-slot>
</template>
</layout>
</div>
</template>
<script>
import layout from "./Layout";
import headerSlot from "./HeaderSlot";
import bodySlot from "./BodySlot";
import footerSlot from "./FooterSlot";
export default {
name: "slotName",
components: {
layout,
headerSlot,
bodySlot,
footerSlot,
},
};
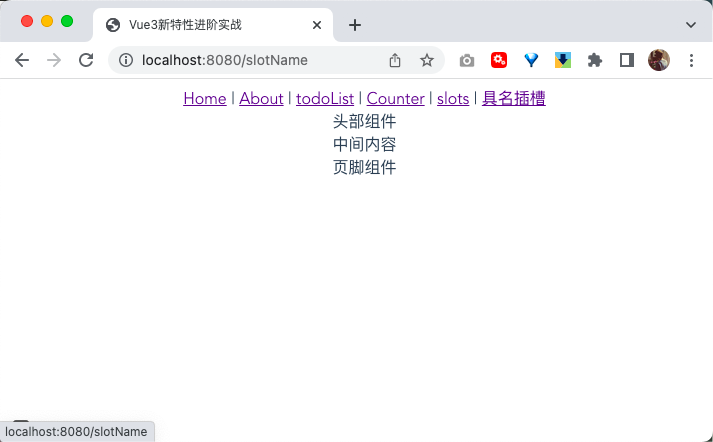
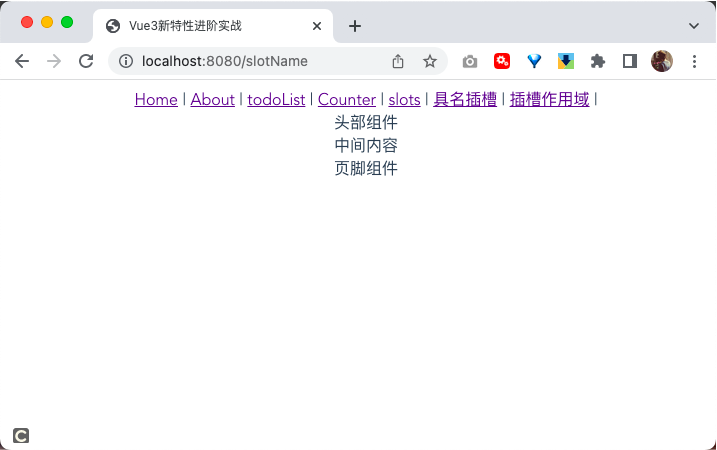
</script>添加路由配置和路由跳转,运行效果如下
作用域插槽
插槽能携带数据,在插槽内部可以使用绑定的数据。
子组件 Child.vue
在 src/views 目录下新建 Child.vue。
然后在 data() 函数里定义 data 数据,将定义好的数据传递到插槽中。
<template>
  <div class="child">
    <h3>子组件</h3>
    <slot :data="data"></slot>
  </div>
</template>
<script>
  export default {
    name: "child",
    data: function () {
      return {
        data: ["张三", "张三丰", "小龙女", "杨过"],
      };
    },
  };
</script>
父级组件 SlotScopes.vue
在 src/views 目录下新建 SlotScopes.vue,将 Child.vue 引入进来,在 components 注册组件,父级组件使用 child 组件时,默认会把数据传递进来,通过 slot-scope 指令接收参数 res,这样我们就能使用绑定到插槽的数据了。
- 第一种,使用
v-for指令 和li标签渲染数据。 - 第二种,直接展示数据
res.data。 - 第三种,不使用其提供的数据,作用域插槽则变成匿名插槽。
在 vue2.6 及已上 版本,slot 和 slot-scope 已经开始 废弃, 有了新的替代: v-slot,v-slot 只能用在 template 上和组件标签上。
<template>
<div class="parent">
<h3>父组件</h3>
<!--用列表展示数据-->
<child>
<template v-slot="res">
<ul>
<li :key="`key${index}`" v-for="(item, index) in res.data">
{{ item }}
</li>
</ul>
</template>
</child>
<!--直接显示数据-->
<child>
<template v-slot="res">{{ res.data }}</template>
</child>
<!--不使用其提供的数据,作用域插槽退变成匿名插槽-->
<child>模板</child>
</div>
</template>
<script>
import child from "./Child";
export default {
name: "slotScopes",
components: {
child,
},
};
</script>
<style scoped>
ul {
list-style-type: none;
}
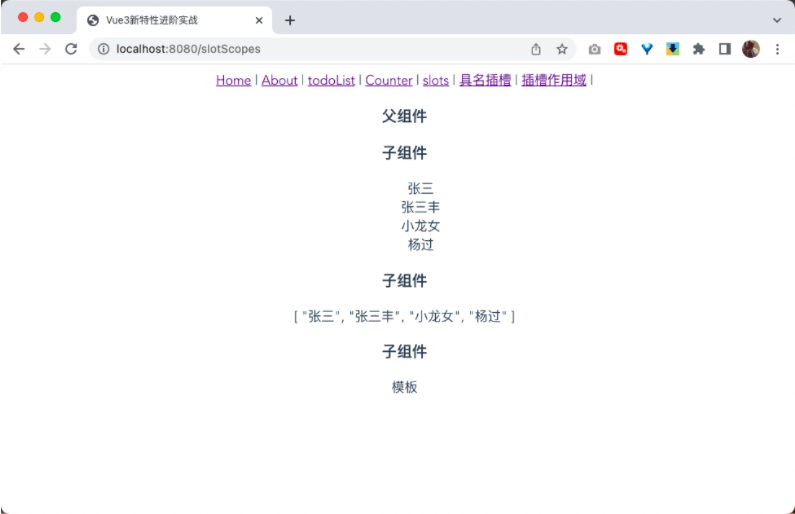
</style>添加路由配置和路由跳转,运行效果如下
解构插槽
我们将上面的例子进一步改造。
Child.vue
修改 Child.vue在 data 函数中定义 obj 数据,将 obj 数据绑定到 slot 标签上。
<template>
  <div class="child">
    <h3>子组件</h3>
    <!-- <slot :data="data"></slot> -->
    <slot :obj="obj"></slot>
  </div>
</template>
<script>
  export default {
    name: "child",
    data: function () {
      return {
        // data: ["张三", "张三丰", "小龙女", "杨过"],
        obj: {
          name: "zhangsan",
        },
      };
    },
  };
</script>
Parent.vue
修改 Parent.vue,引入 Child.vue,组件注册完之后使用 v-slot 来解构 obj 。
<template>
<!-- <div class="parent">
<h1>父级元素</h1>
<slots>
<p>插槽内容1</p>
<p>插槽内容2</p>
</slots>
</div> -->
<div class="father">
<h3>父组件</h3>
<child>
<template v-slot="{ obj }">
<div>{{ obj }}</div>
</template>
</child>
</div>
</template>
<script>
// import slots from "./Slots";
import child from "./Child";
export default {
name: "parent",
components: {
child,
// slots,
},
};
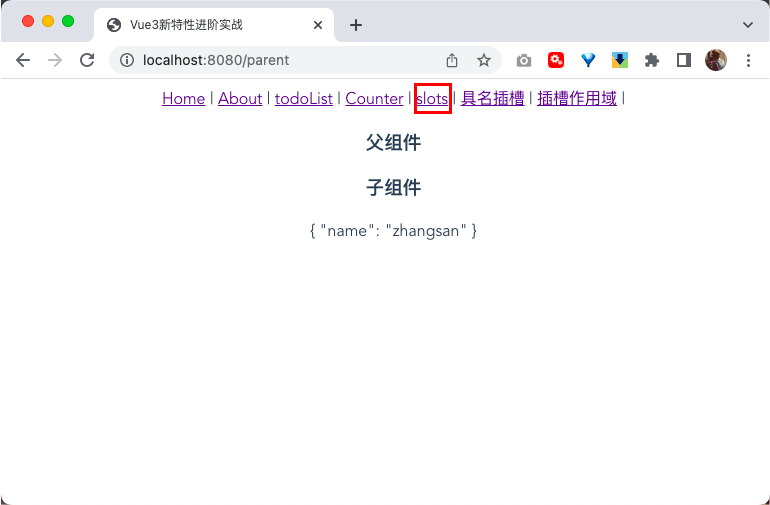
</script>运行效果
3、插槽简写语法
在 Vue3 中,对插槽语法进行了升级,新增了 # 属性来替代 v-slot ,插槽简写模式是 #slotName。
插槽简写
改造一下上面讲到的具名插槽,可以将 v-slot:header 改成 #header,将 v-slot:body 改成 #body,将 v-slot:footer 改成 #footer。

运行代码,发现没有什么区别。
动态变量定义插槽名字
我们可以使用动态变量的方式来定义插槽的名字 #[slotNameVar]。
<template>
<div class="slot-name">
<layout>
<!--头部插槽放置的内容的区块-->
<!-- <template v-slot:header> -->
<!-- <template #header> -->
<template #[header]>
<header-slot></header-slot>
</template>
<!--中间内容放置的区块-->
<!-- <template v-slot:body> -->
<!-- <template #body> -->
<template #[body]>
<body-slot></body-slot>
</template>
<!--页脚内容放置的区块-->
<!-- <template v-slot:footer> -->
<!-- <template #footer> -->
<template #[footer]>
<footer-slot></footer-slot>
</template>
</layout>
</div>
</template>
<script>
import layout from "./Layout";
import headerSlot from "./HeaderSlot";
import bodySlot from "./BodySlot";
import footerSlot from "./FooterSlot";
export default {
name: "slotName",
components: {
layout,
headerSlot,
bodySlot,
footerSlot,
},
data() {
return {
footer: "footer",
body: "body",
header: "header",
};
},
};
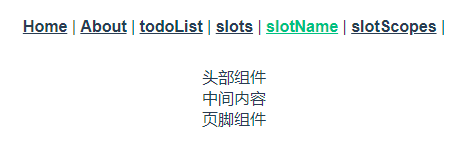
</script>运行效果如下:
也可以使用 v-slot:[slotNameVar]。
<template>
  <div class="slot-name">
    <ht>
      <template v-slot:[header]>
        <header-slot></header-slot>
      </template>

      <template v-slot:[body]>
        <body-slot></body-slot>
      </template>
      <template v-slot:[footer]>
        <footer-slot></footer-slot>
      </template>
    </ht>
  </div>
</template>

<script>
  import layout from "./Layout";
  import headerSlot from "./HeaderSlot";
  import bodySlot from "./BodySlot";
  import footerSlot from "./FooterSlot";
  export default {
    name: "slotName",
    components: {
      layout,
      headerSlot,
      bodySlot,
      footerSlot,
    },
    data() {
      return {
        footer: "footer",
        body: "body",
        header: "header",
      };
    },
  };
</script>
效果一样。
4、总结
- 使用
v-slot:slotName来定义具名插槽,让组件更加具有复用效果。 - 知道
vue3.0移除了slot-scope属性,统一使用v-slot。 - 使用插槽简写语法。
- 使用动态变量来定义插槽名字 。